
This post is a guest post by Mrs. T of The Musings of Mrs. T. You can find out more information about the author at the end of the post.
Assessing English Language Arts (ELA) can be quite a challenge. There’s so much to cover and it’s hard to know where to start. Should you begin by testing grammar knowledge or how well your students utilize their spelling and vocabulary skills? Should you focus on how they express ideas through writing first or through speech? Plus, we haven’t even mentioned how to keep track of students’ reading and comprehension of texts. Well, let me share a strategy with you that will be able to make your ELA assessments a little easier.

Student Choice Boards can be used in all sorts of ways across many subject areas, but I like to use them for assessment purposes. A Student Choice Board is simply a board (or table, or wall of post-it notes) that provides students with a selection of task options that they can choose from. You can include as many options as you like, and students can complete them in any order. The reason this works so well for assessments is because you can cover a range of different skills at once, and your students get to practice some autonomy. When it comes to assessing ELA, I recommend including about 10 options and asking students to select 5 to complete, one from each of the following areas: Writing, Grammar, Reading & Comprehension, Speaking and Listening, Spelling & Vocabulary.
The first step to creating a Student Choice
Board Assessment is to figure out what the task options will be for your
students. They should all require a similar amount of effort and take a similar
length of time to complete. That way you can avoid having students only picking
the ‘easier’ options. I like to list mine out in their separate categories to
start with. For example, you might begin with something like this:
Writing
Newspaper article on event from the past
week
or
Pitch for a new movie
Grammar
Advertisement for a toy
or
Edit the teacher’s text
Reading & Comprehension
Book report
or
Create a quiz
Speaking & Listening
Lead a discussion
or
Conduct an interview
Spelling & Vocabulary
Create a crossword
or
Write a journal entry
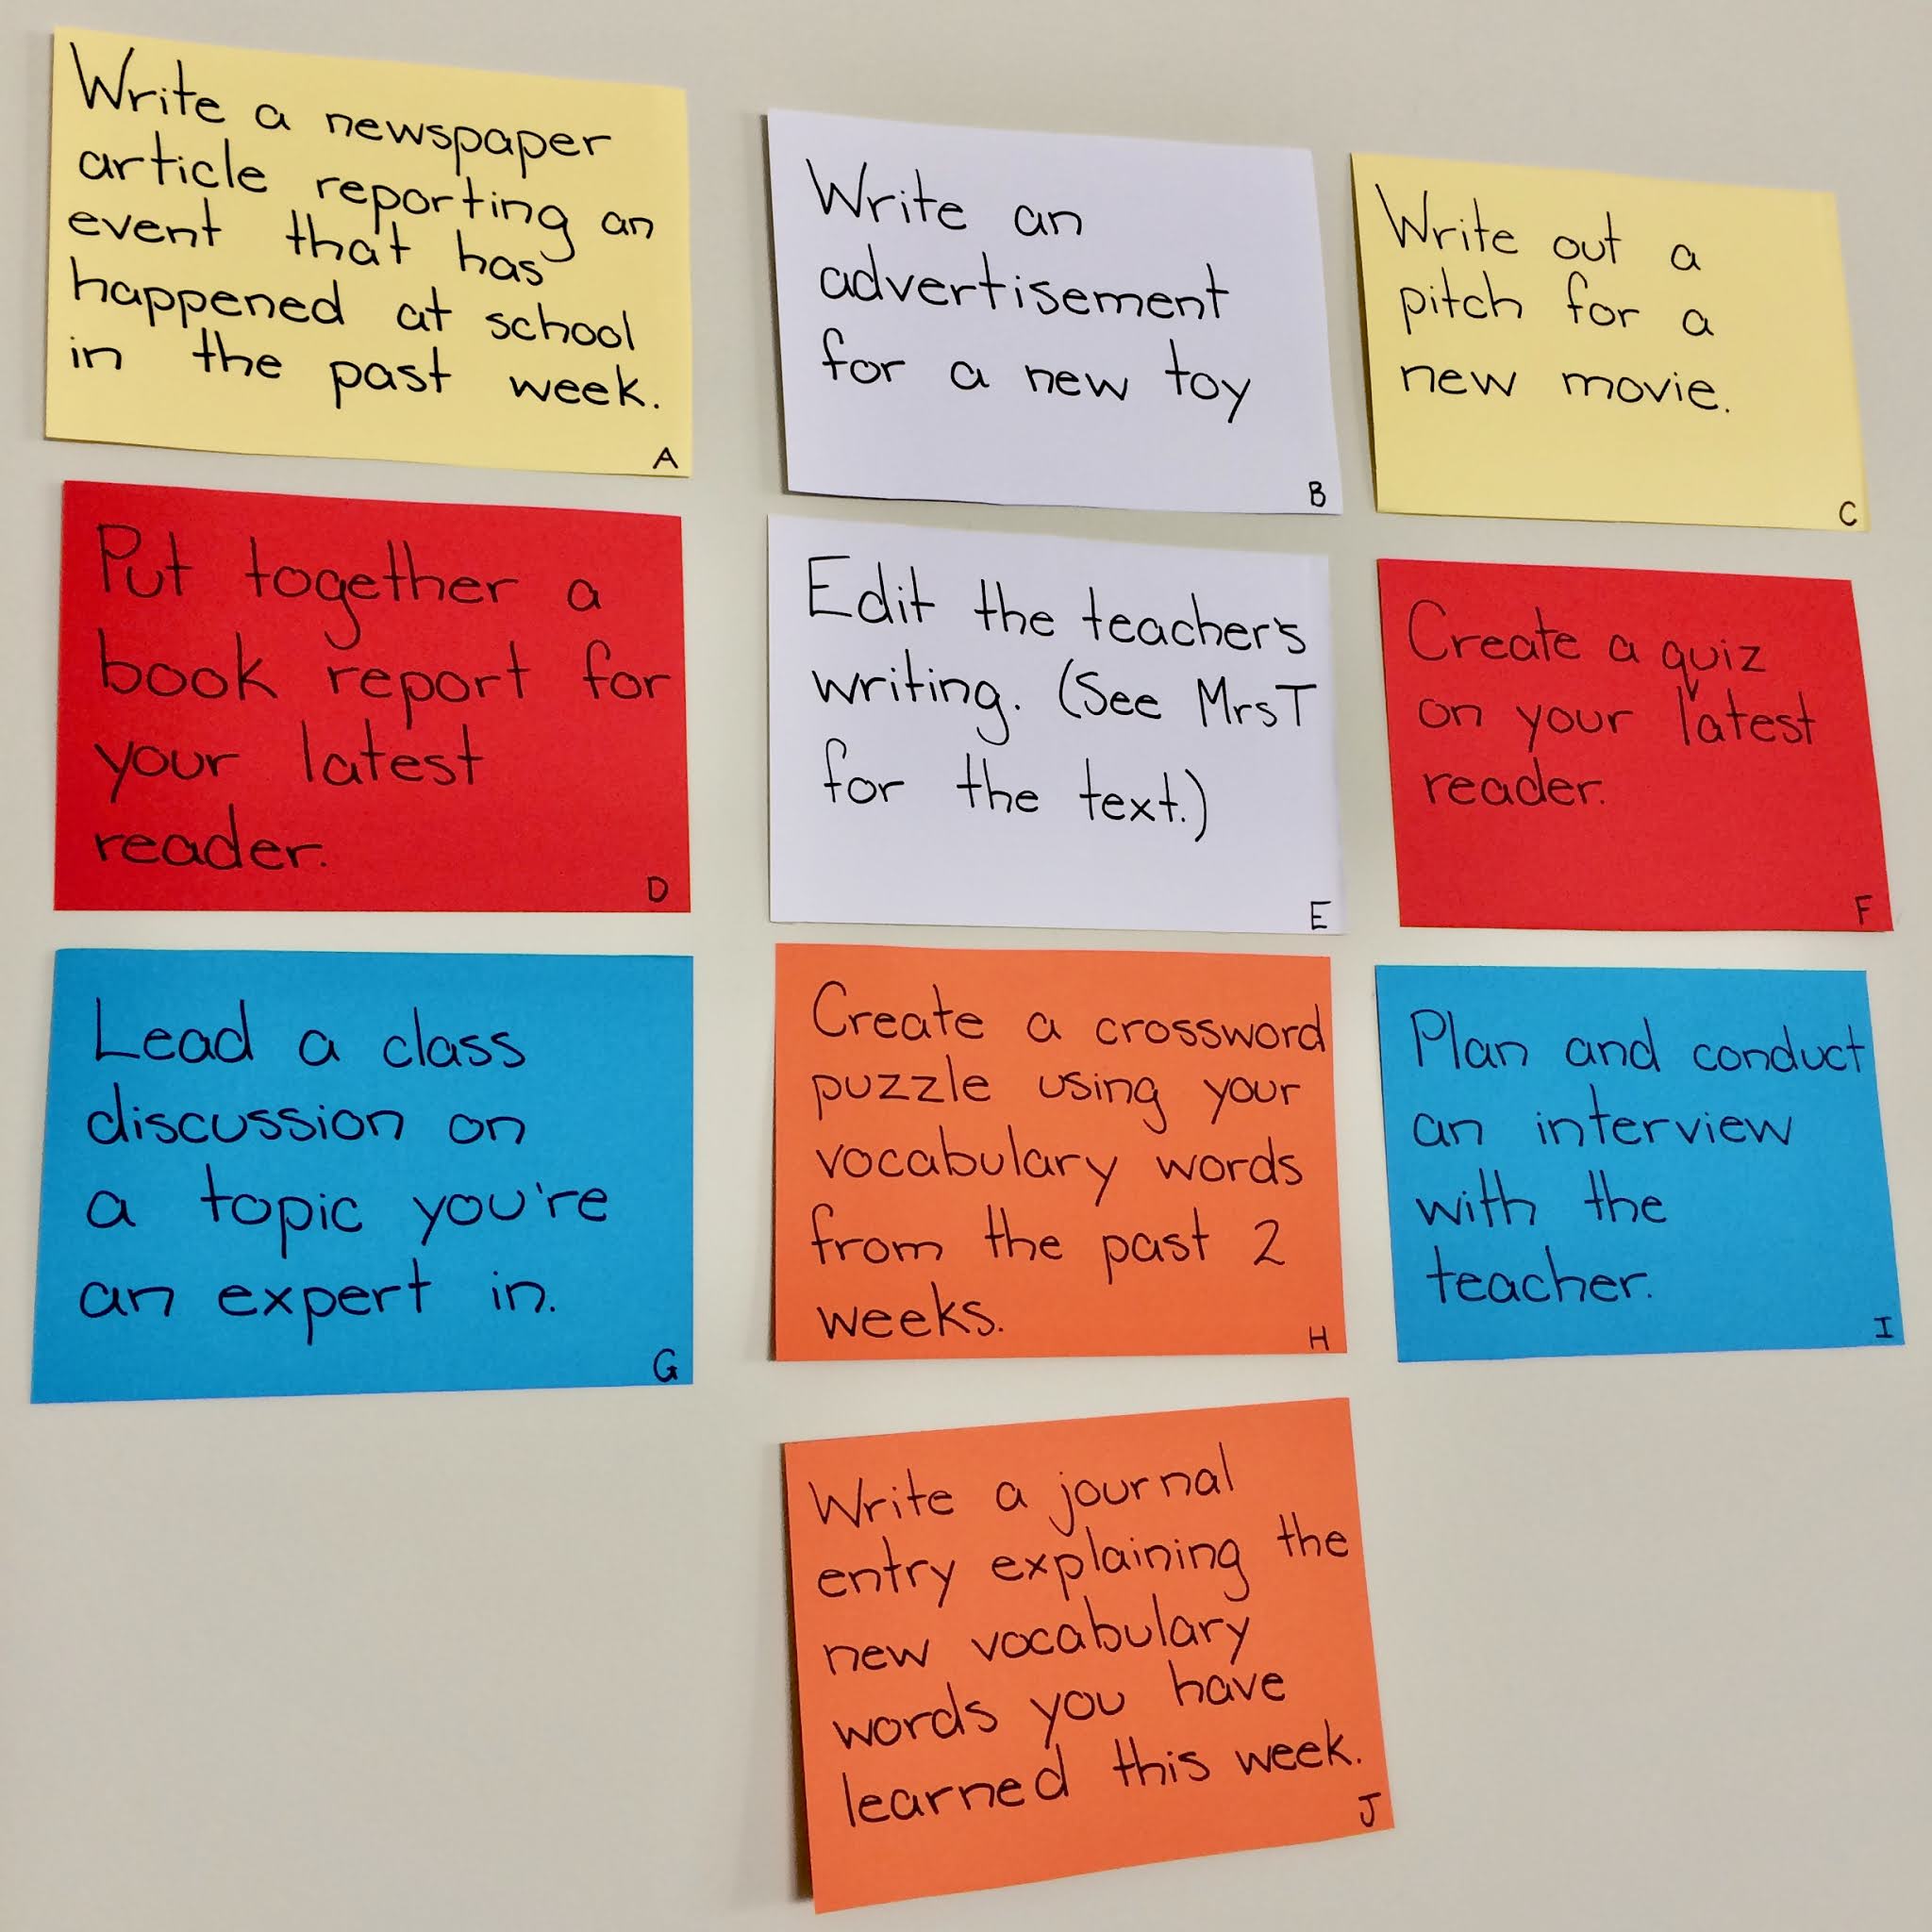
Once you have planned what the tasks will
be, the next step is to decide how to present this to your students. It can be
as simple as writing out the instructions on post-it notes or colored paper and
displaying it in the classroom. The picture below shows an example of what this
might look like. Here, I color-coded the activities so that students simply
need to pick one task from each colored category. I also labeled the tasks with
a letter so that it is clear to see which tasks students decide to work on.
Now that the set-up is complete, you can explain your expectations to your students and give them the time they need to complete five tasks. (Usually, this takes a few lessons).

Once you have used this strategy once, it becomes easier to use it over again. Your students will know what to expect and will develop their own strategies for working through the tasks. They’ll also get excited to see what the new task options are whenever you change them up! Additionally, this strategy can easily be adapted for digital learning. All you need to do is display the task options to your students through google classroom (or whichever digital platform you use for teaching) and then give them a place to be able to submit their work to you when they’re finished. You can even try doing themed Student Choice Boards for different times of the year! With so many ways to use this strategy in your teaching, I hope you are inspired to give it a try!
A huge thank you to Mrs. T of Musings of Mrs. T for this guest post. You can find more information about her on her blog, her TeachersPayTeachers store, and/or follow her on Facebook!


